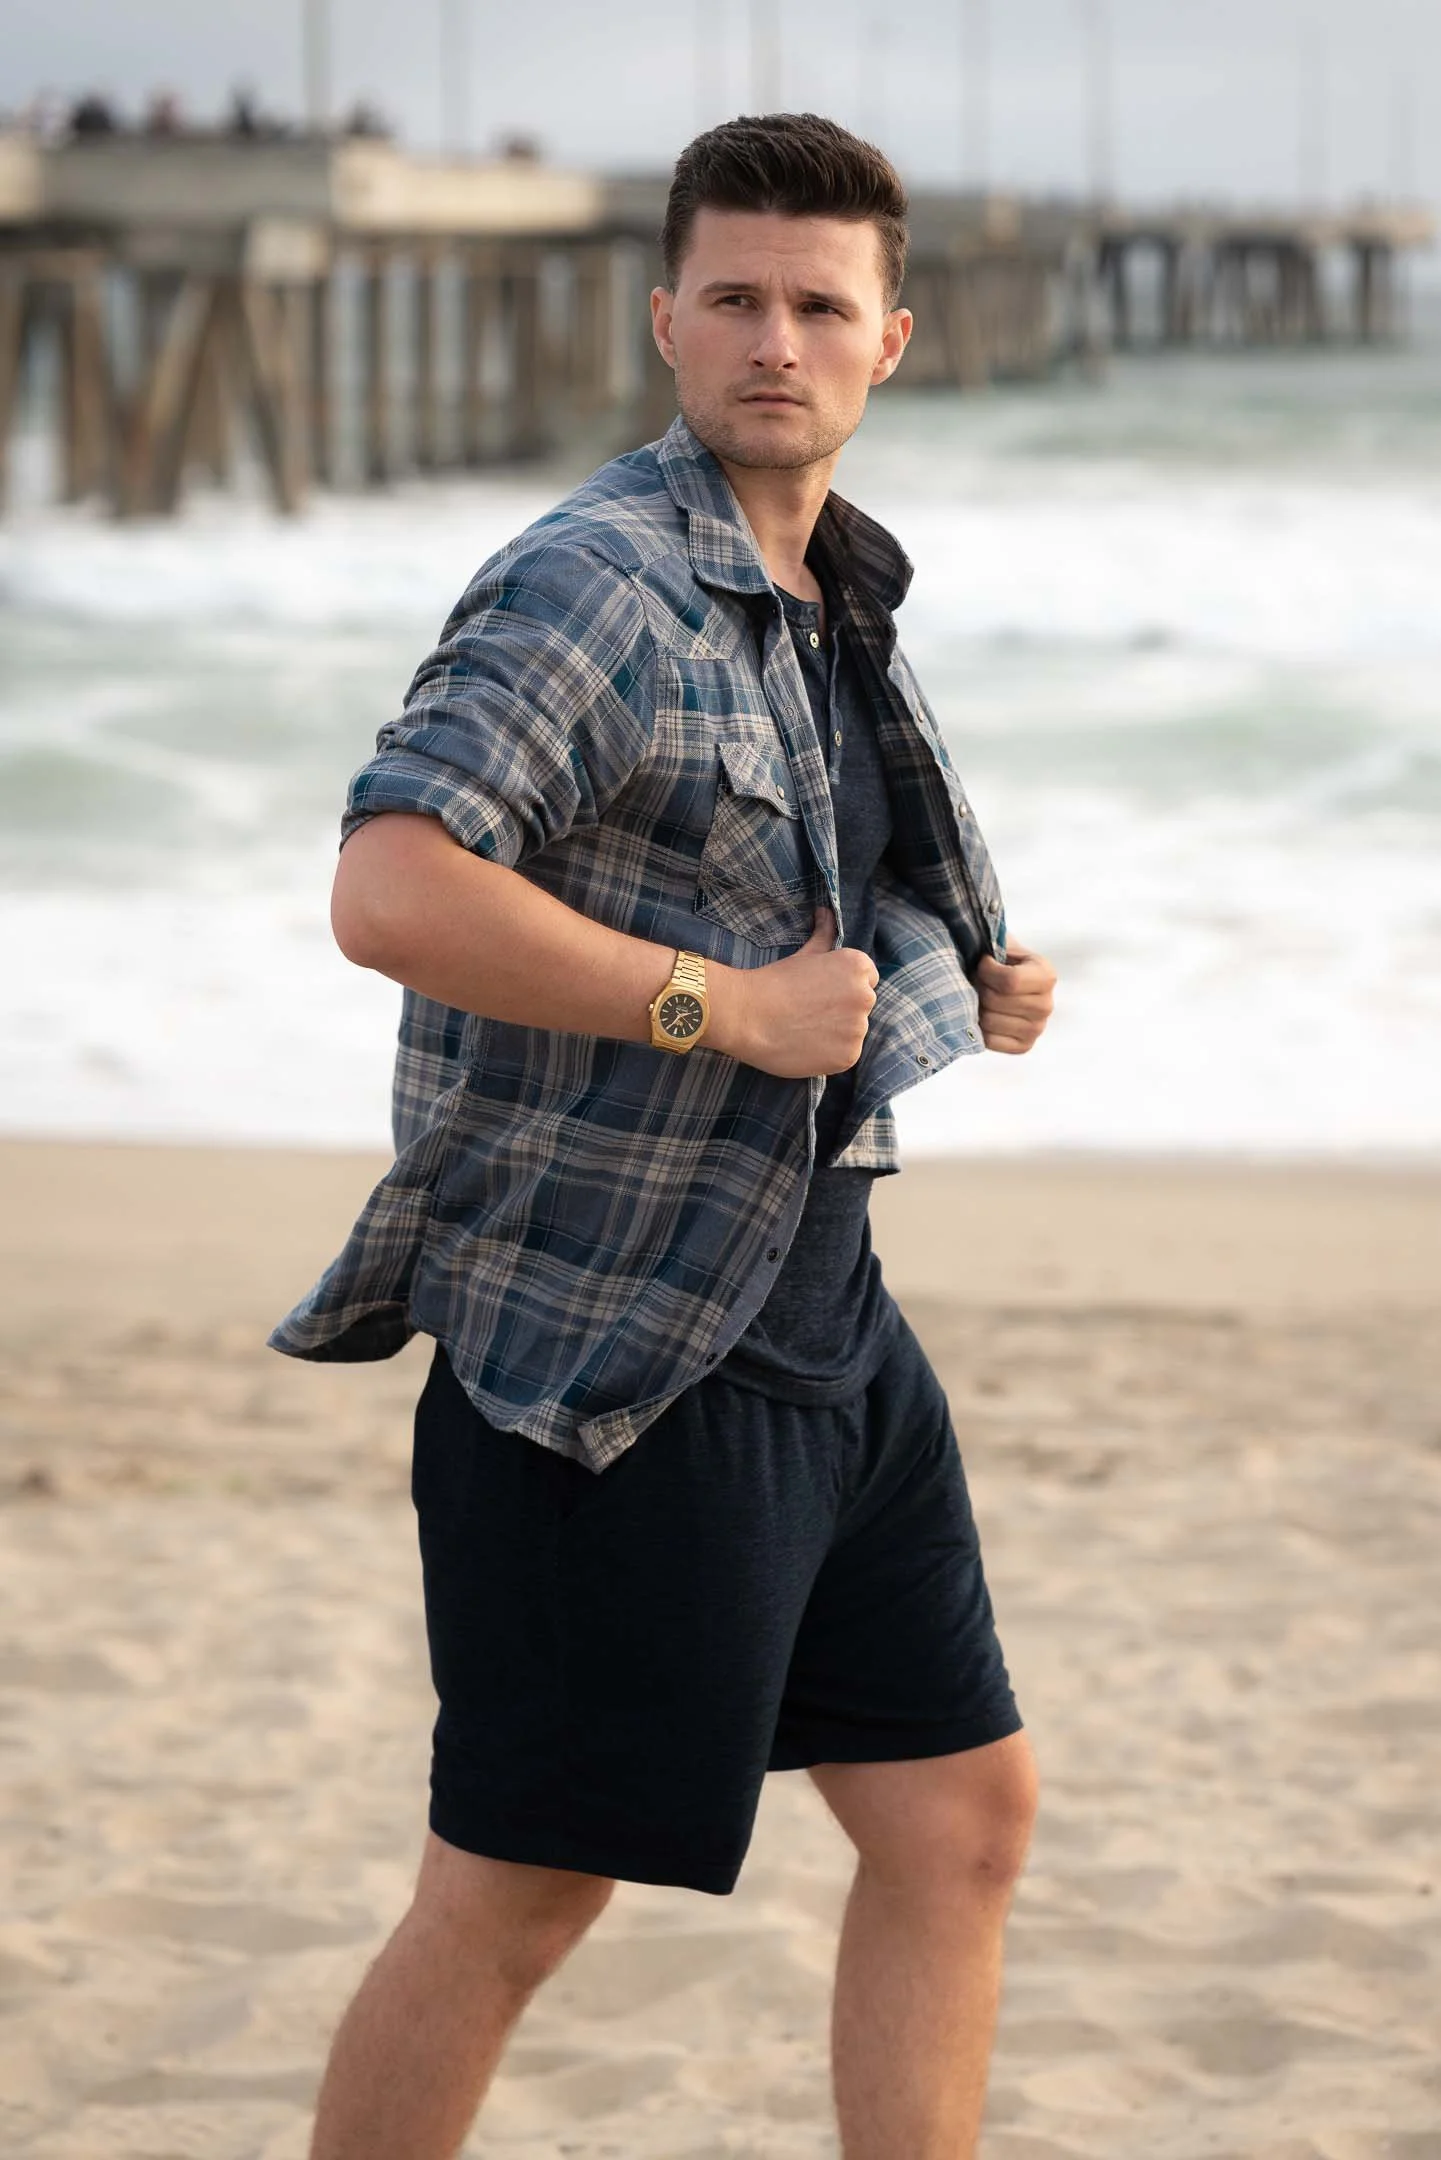
Outdoor Portrait Photography Tips
As an outdoor lifestyle photographer in Los Angeles, I have had the opportunity to take portraits of agency-signed models, actors, and new faces looking to be on camera for the first time. Over the years I’ve learned a lot about what goes into producing a successful photo session on-location.
There are a lot of benefits and challenges that come with outdoor portrait photography for models compared to studio photography - especially if you’re only working with natural light.
In this blog post, I’ll be sharing some outdoor portrait photography tips so your session will go smoothly with examples from my own lifestyle photoshoots.
Visit The Location in Advance
You might already have a general location idea for your next portrait shoot (example: the beach, deep in the city, in a grassy field, etc.). But if you want to give yourself an advantage, I would recommend visiting the specific location at least a few days before the photoshoot.
You want to know as much about the outdoor location as you can before doing the shoot. Unlike working in a controlled studio environment, you might have to account for a lot of factors that could be out of your control.
Is the location you're taking portraits at busy with tourists at a certain time of day?
Is it usually foggy at a certain time of day (this has been the case for me doing photoshoots in coastal cities like Santa Monica and Venice early in the morning)?
Are certain locations going to be closed off because of an event?
The more knowledge you have about the location, the easier it’ll be to plan around any potential issues you can come across on the day of the portrait shoot.
Another thing you’ll want to keep in mind when it comes to choosing outdoor portrait locations is to avoid going to too many different places in one session if you don’t have the time.
If you’re shooting in a studio, you can change backdrops without the model having to move around. But for outdoor locations, you want to give the model time to adjust to their new environment if you’re shooting in multiple locations (and time to actually reach the location).
Rather than trying to do 5 locations in one hour, spend ample time with fewer locations to make sure you’re getting the shots you need.
Shoot With Different Compositions
Unless you’re aiming to shoot only headshots, try to go for different compositions and angles in your portrait session. One of my favorite things about outdoor lifestyle photoshoots with models is that I’m less limited in where I can shoot compared to a studio.
Of course you might come across obstacles outdoors, but this takes me back to my first point: know your location before the day of the shoot. I take a lot of portraits in Santa Monica and Venice at the beach, and there is plenty of space for me to move around and use my Sigma 85mm lens: my main lens for all types of photography (but especially lifestyle and portraits).
You can shoot full body portraits, waist-up, close-up, and get creative shooting from more than just eye-level. Take advantage of the space you have and move around your location to try to add versatility to your final photos.
Choose Your Background Carefully
I added this point because it’s an important factor to consider when it comes to situations like weather conditions. In a studio environment, you can choose your backdrop and set up lighting to adjust it as you wish.
When it comes to outdoor portrait photography, you’re using what the location already has (unless you’re bringing in certain props). For example, when shooting in overcast weather in a location like Santa Monica, you can get a blank white sky which blends in with the water.
Sometimes that might be the look you’re going for, but if you want to add more of a background to your image, you need to find an object/structure already in your location.
In this photoshoot with Owen, I used the beams from the Santa Monica Pier to create a background so the background didn’t look as blank compared to the image on the left (even though I’m happy with both photos).
Use Natural Light Intentionally
I might be a bit biased, but I think natural light provides the best lighting for lifestyle portrait photography. Even though you’re not in control of how harsh the light will be or the direction, you can get some brilliant tones from the sunlight that artificial light doesn’t measure up to.
With that being said, it’s important to understand how to use natural light in order to get the best outdoor portrait possible. You don’t have to shoot during golden hour in order to get the best photos (my preference for portraits just happens to be sunrise and sunset because of my style).
It’s more beneficial to understand different lighting techniques like forward facing light, backlight, and side light and experiment with what seems best for you.
Final Thoughts
Having equipment like reflectors or an off-camera flash can be helpful, but you don’t need to own a studio with a bunch of artificial lights to pull off a successful portrait session. Ultimately, the quickest way to improve your photography is to go out and practice.
Outdoor portrait photography was a great step for me to develop my skills in producing commercial lifestyle photoshoots with models and products.
Just to recap:
Visit The Location in Advance: Spend time at the planned outdoor portrait location before the day of the photoshoot to avoid unexpected surprises.
Shoot With Different Compositions: Take close-up portraits and full body shots with how much space you have available.
Choose Your Background Carefully: Choose non-distracting backgrounds that will suit the mood of your portrait photoshoot.
Use Natural Light Intentionally: Practice different types of lighting techniques for your portraits and shoot intentionally.


